PB-LITE Documentation.
Get started articles.
Technical.
powerboard-lite technical information.
- Max charge current: 800 ma
- Output voltage: 3v - 5v (Depending on the voltage of the battery and 5v if the USB is plugged in.)
- Number of battery cells: The PB-LITE can charge a battery with 1 battery cell. This is 3.7V lithium batteries.
- Max supply voltage: The max supply voltage the Charging IC can handle is 6.4V.
- Max current discharge: The max current discharge the Charging IC can handle is 3A.
- Protection: Charging IC - Reverse Current and Short-Circuit protection.
Important.
The fuel gauge IC may conflict with the charging IC when the battery is fully charged (100%). We are working on a permanent solution, but the simplest fix for now is to make changes to the Arduino or MicroPython code. Essentially, acting like the fuel gauge indicates 100% charge when the charging IC reports that charging is complete. Essentially an issue that can easily be fixed later on in the code.
Dimensions.
17x18mm | 10mm shorter than the famous TP4056 - with far more features.
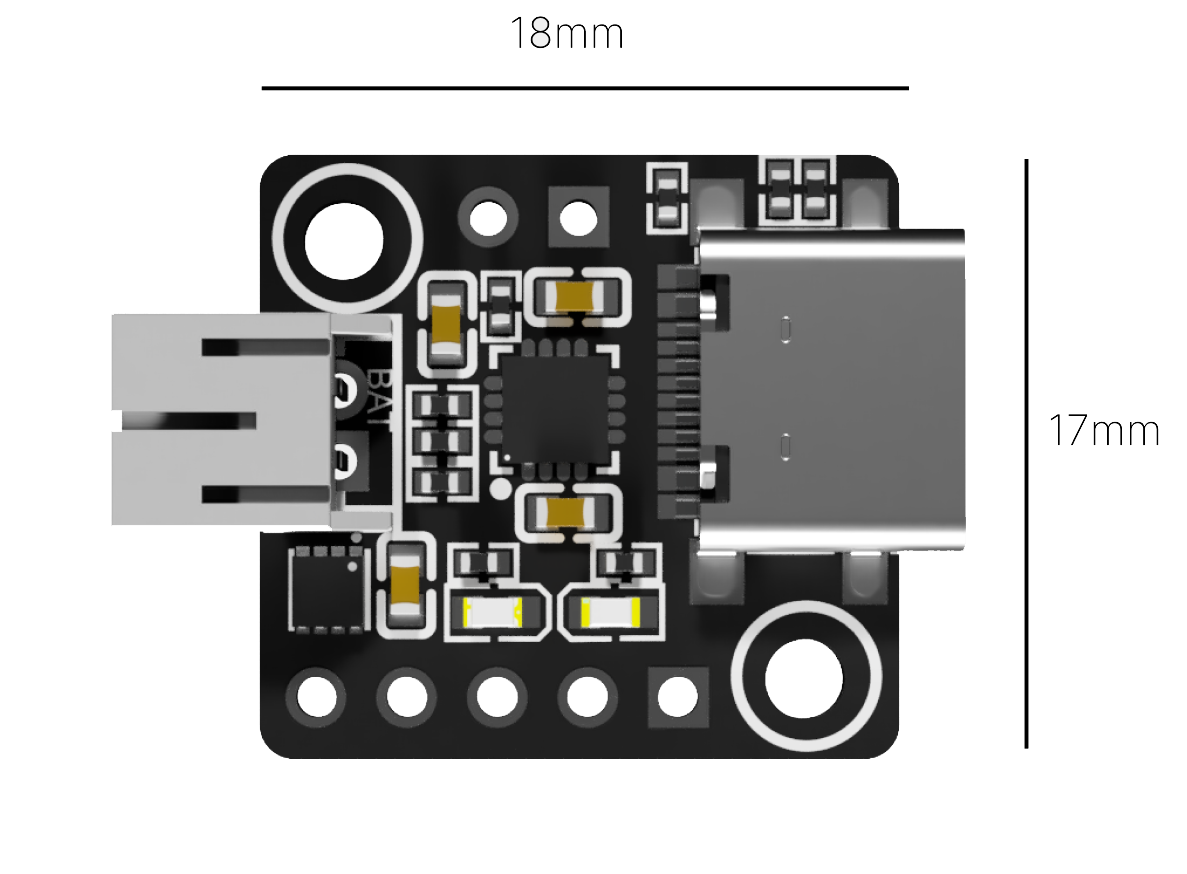
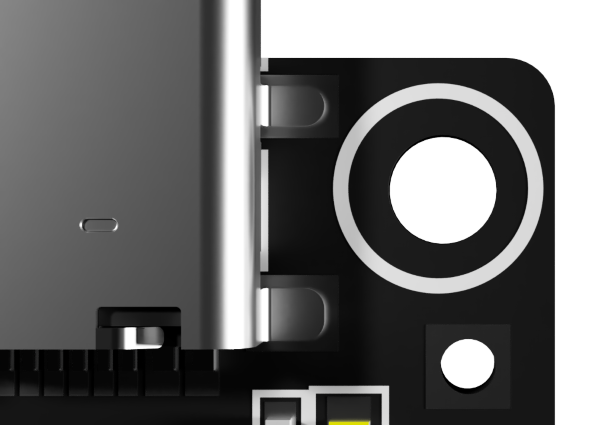
M2 screw holes with a diameter of 2.2mm
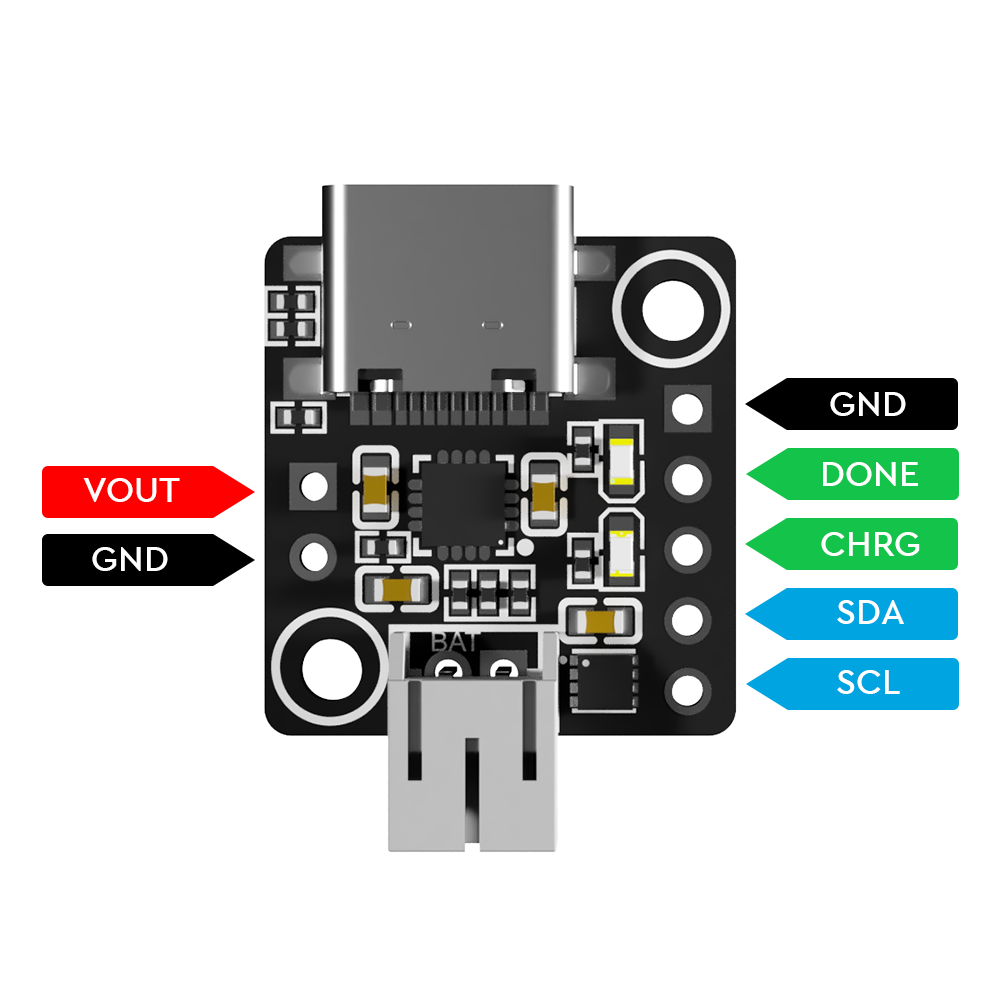
Pinout.
powerboard-lite pinout.
Recommended battery.
Although all lithium-ion batteries should work with the PB-LITE, these are the ones we have tested and know to be compatible with the powerboard-lite. If you have a contribution to this list, please send us an image of it working with the PB-LITE and a link to where people can buy it. everyone@evelvo.tech
- Lithium ion polymer battery 3.7V 102540 1100mAh 40x25 mm, and a height of 10 mm | Aliexpress.
- Lithium ion polymer battery 3.7V 523450/503450 1000mAh 50x34 mm, and a height of 5 mm | Aliexpress.
- Lithium ion polymer battery 3.7V 103450 2000mAh 50x34 mm, and a height of 10 mm | Aliexpress.
Resources.
LED's meaning.
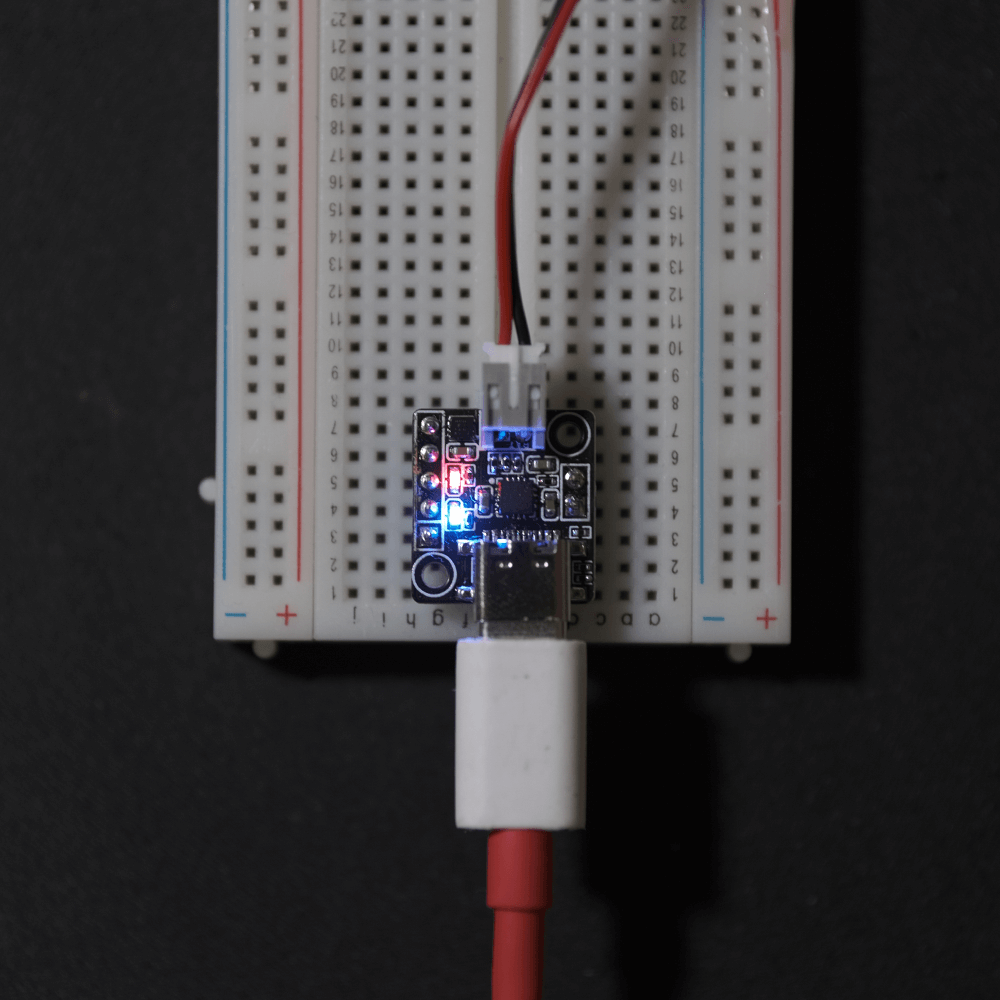
Both led's on (red and blue), means charging. Only blue means charging is done.
How to use it...
The main reason to use the PB-LITE in your project is to take advantage of its features that connect your power system to your microcontroller. This will provide your microcontroller with information on battery percentage and charge status.
Reading battery percentage.
Reading the battery percentage is simple.
- Connect the SDA, and SCL to your microcontrollers I2C.
- Write the code to read only the battery percentage here for your microcontroller. Remember to change the SDA_pin and SCL_pin in the code to the pins you chose.
Checking charge status.
Checking the charge status is also very simple.
- Connect the CHRG and DONE pins to your microcontroller's pins that allow for reading HIGH and LOW signals.
- Some microcontroller do not have internal pull-up resistors. For those cases: Use 2 100k resistors for pulling up those signals to 3.3v.
- Write the code to only check charge status here for your microcontroller. Remember to change the CHRG and DONE variables in the code to the pins you chose.
Reading battery percentage and charge status.
Combining both to take full advantage of the PB-LITE only requires combining all the steps above.
- Connect the SDA, and SCL to your microcontrollers I2C.
- Connect the CHRG and DONE pins to your microcontroller's pins that allow for reading HIGH and LOW signals.
- Some microcontroller do not have internal pull-up resistors. For those cases: Use 2 100k resistors for pulling up those signals to 3.3v.
- Write the full code here for your microcontroller. Remember to change the CHRG, DONE, SDA_pin and SCL_pin variables in the code to the pins you chose.
