Get started with the PB-LITE and Raspberry pi pico.
Get started with the Raspberry Pi Pico and powerboard-lite to read battery percentage and charge status. The powerboard-lite not only charges your battery and makes your projects portable but also provides your microcontroller with essential information, such as battery percentage and charge status. This lets you know if the battery is charging or fully charged. Plus, it features two M2 screw holes for easy fastening into your projects, all while being super compact. This article will be a step-by-step guide on how to use the powerboard-lite and connect it to the Raspberry Pi Pico.
In this guide, we are going to be using the fully soldered version of the powerboard-lite, as it has headers allowing us to place it on a breadboard, making connecting with wires easier.
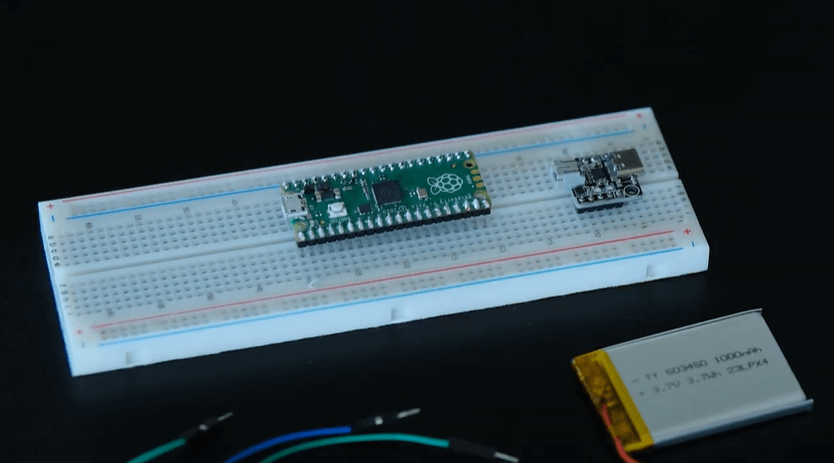
What do you need...
- 1x | powerboard-lite
- 1x | single cell lithium ion battery
- 5x | breadboard wires
- 1x | breadboard
- 1x | Raspberry pi pico
- 1x | Micro USB cable
- 1x | USB-C cable
Step 1: Basic functions of the PB-LITE
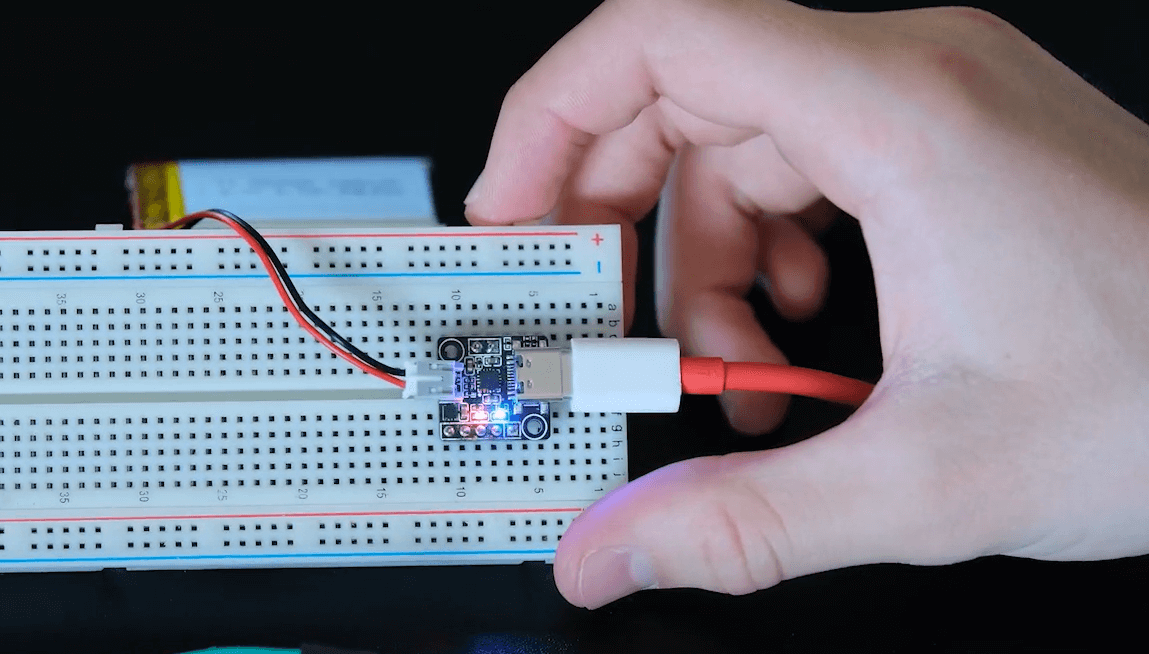
Connect the battery to the powerboard-lite, then connect the USB-C to power. The lights should now light up. If both lights are on, it means the battery is charging. If only the blue light is on, it means the battery is done charging. Now you know the powerboard-lite works.

Step 2: Place the Pico on the breadboard
Disconnect the battery and USB-C. Then place the raspberry pi pico on to the breadboard.

Step 3: Set up raspberry pi pico
If you have already set up your Pico, this step is not needed. First, connect your micro USB cable to your computer. Then, hold down the BOOTSEL button while connecting the cable to the Pico. At this point, you should find the Raspberry Pi Pico in your file explorer.
Now download the raspberry pi pico uf2 file here. Then drag the uf2 file into the disk of your pico. Now you should be able to open thonny, and find the raspberry pi pico there.
Connect for only reading battery percentage

Upload code (only reading percentage) and run it
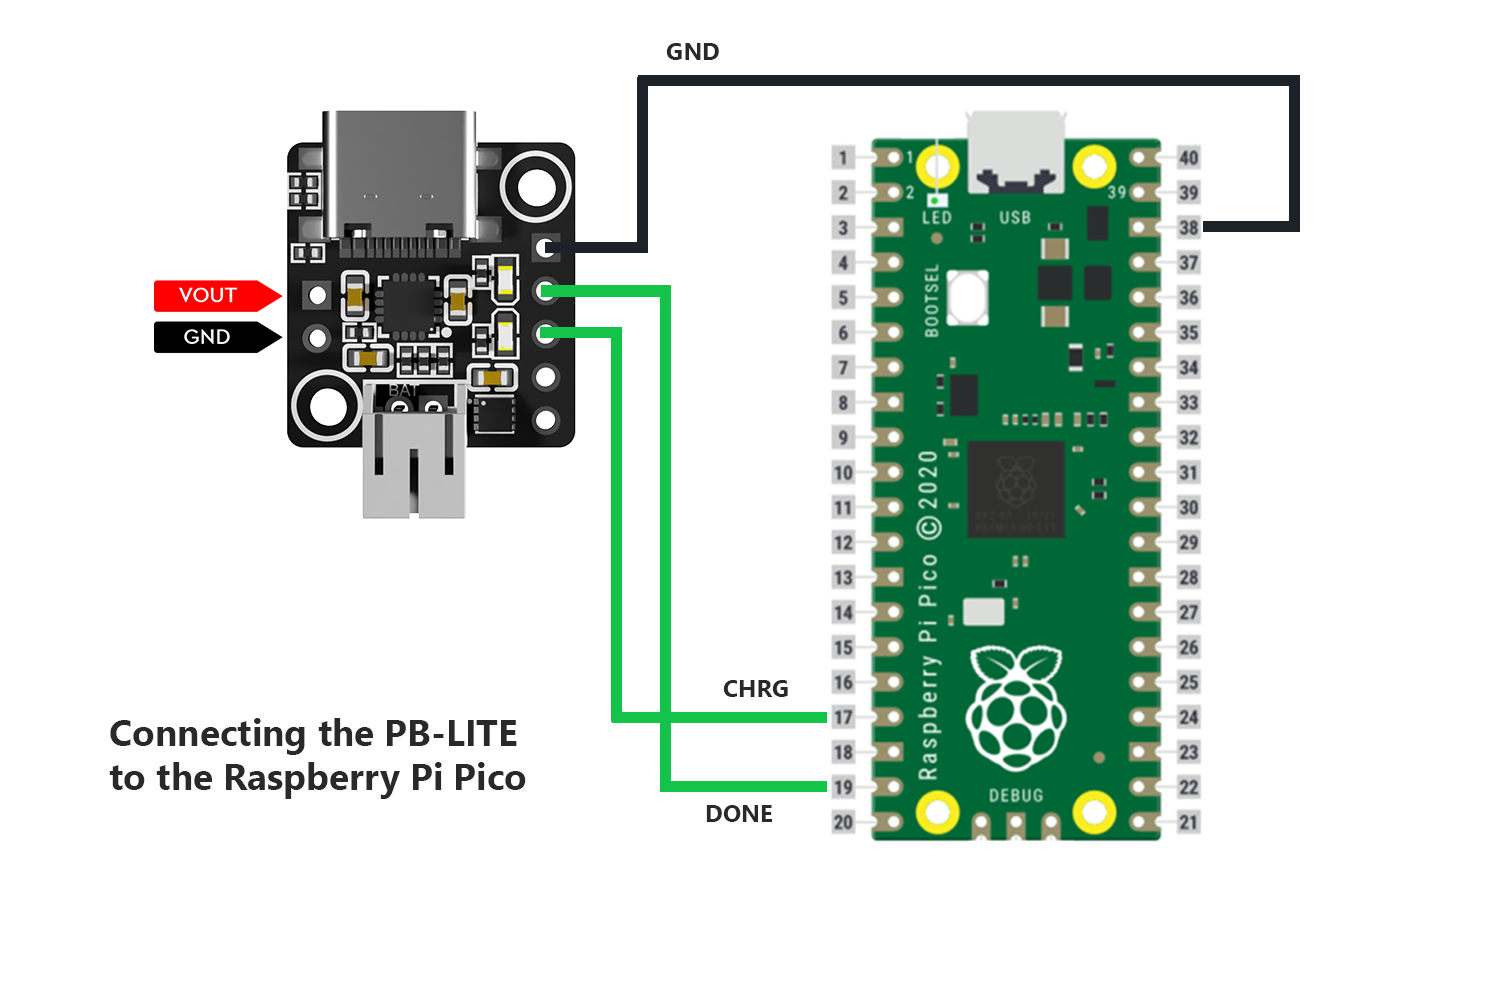
Connect for only checking charge status

Upload code (only checking charge status) and run it
Connect for reading battery percentage and checking charge status

